7일차
2024. 7. 26. 18:01ㆍFCB2O4
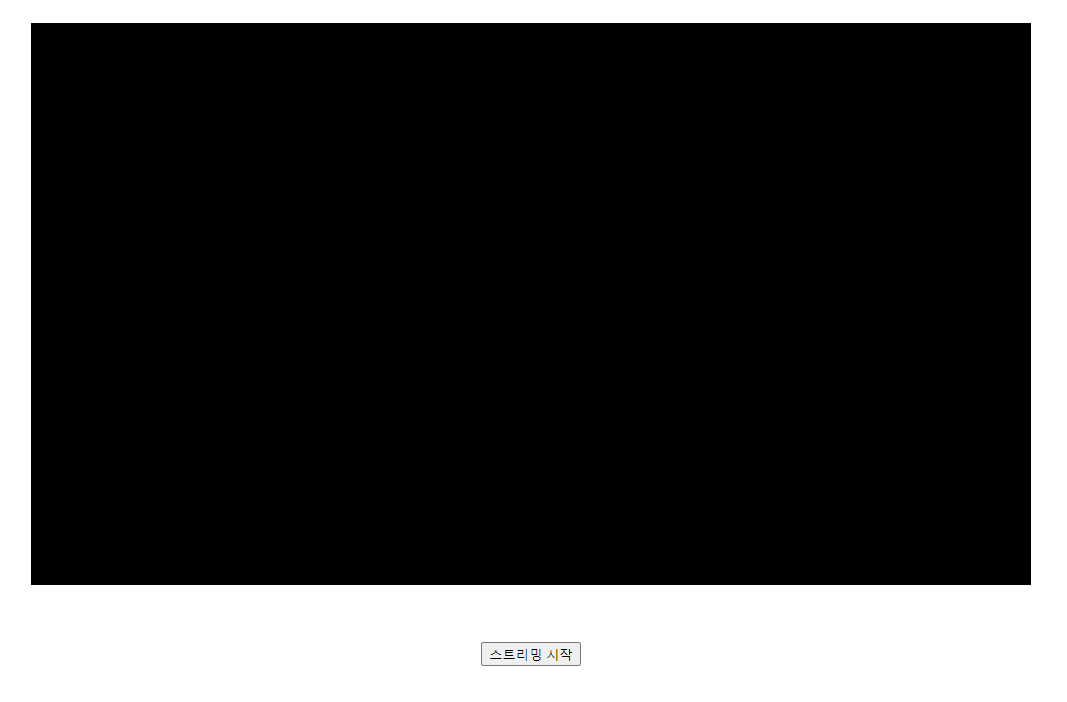
오늘은 간단하게 스트리밍 시작 / 종료 처럼 보이게 만들기
import React, { useRef, useEffect, useState } from 'react';
import '../css/WebCam.css';

const Webcam = () => {
    const videoRef = useRef(null);
    const [webCamView, setWebCamView] = useState(false);

    const getCamera = () => {

        navigator.mediaDevices.getUserMedia({
            video: true
        })
            .then((stream) => {
                let video = videoRef.current;
                video.srcObject = stream;
                video.onloadedmetadata = () => {
                    video.play();
                };
            })
            .catch((error) => {
                console.log(error);
            })
    }

    useEffect(() => {
        getCamera();
    }, [webCamView]);

    return (
        <div>
            <div className='webcam-layout-container'>
                {webCamView ? <span className="blackScreen"></span> : <video className='webcam-container' ref={videoRef} />}
                <div className="button-container">
                    <button onClick={() => setWebCamView(!webCamView)}>
                        {webCamView ? '스트리밍 시작' : '스트리밍 종료'}
                    </button>
                </div>
            </div>
        </div>


    )
};

export default Webcam;
리액트 코드 자체는 간단. 문제는 검은 화면을 어떻게 비디오 위에 띄우느냐가 관건.
.webcam-layout-container {
    position: absolute;
    width: 1000px;
    height: 1000px;
    display: flex;
    flex-direction: column;
    align-items: center;
    justify-content: center;
}

.webcam-container, .blackScreen {
    position: absolute;
    width: 100%;
    height: 56.25%;
    object-fit: cover;
    margin-left: 50%;
}

.blackScreen {
    background-color: black;
    z-index: 10;
}

.button-container {
    margin-left: 50%;
    margin-top: 70%;
    z-index: 1;
}
object-fit으로 영상 화면을 컨테이너에 딱 맞춰서 검은 화면과 크기를 동일하게 만들고
z-index를 통해 어느 요소가 위에 올라올 것인지 설정

